Green screens are handy tools that can add cool effects and lend visual appeal to any video. At the same time, green screens can create hilariously bad special effects and distracting imagery that makes your work look slipshod and unprofessional. Luckily, you don’t require years of experience creating Hollywood blockbusters to make your work look smart, savvy, and a delight to watch. All you need are a few tricks and some basic know-how about production techniques and how green screens, cameras, and editing programs work. Here are some tips to make green screen shots look realistic.
Get the Right Equipment
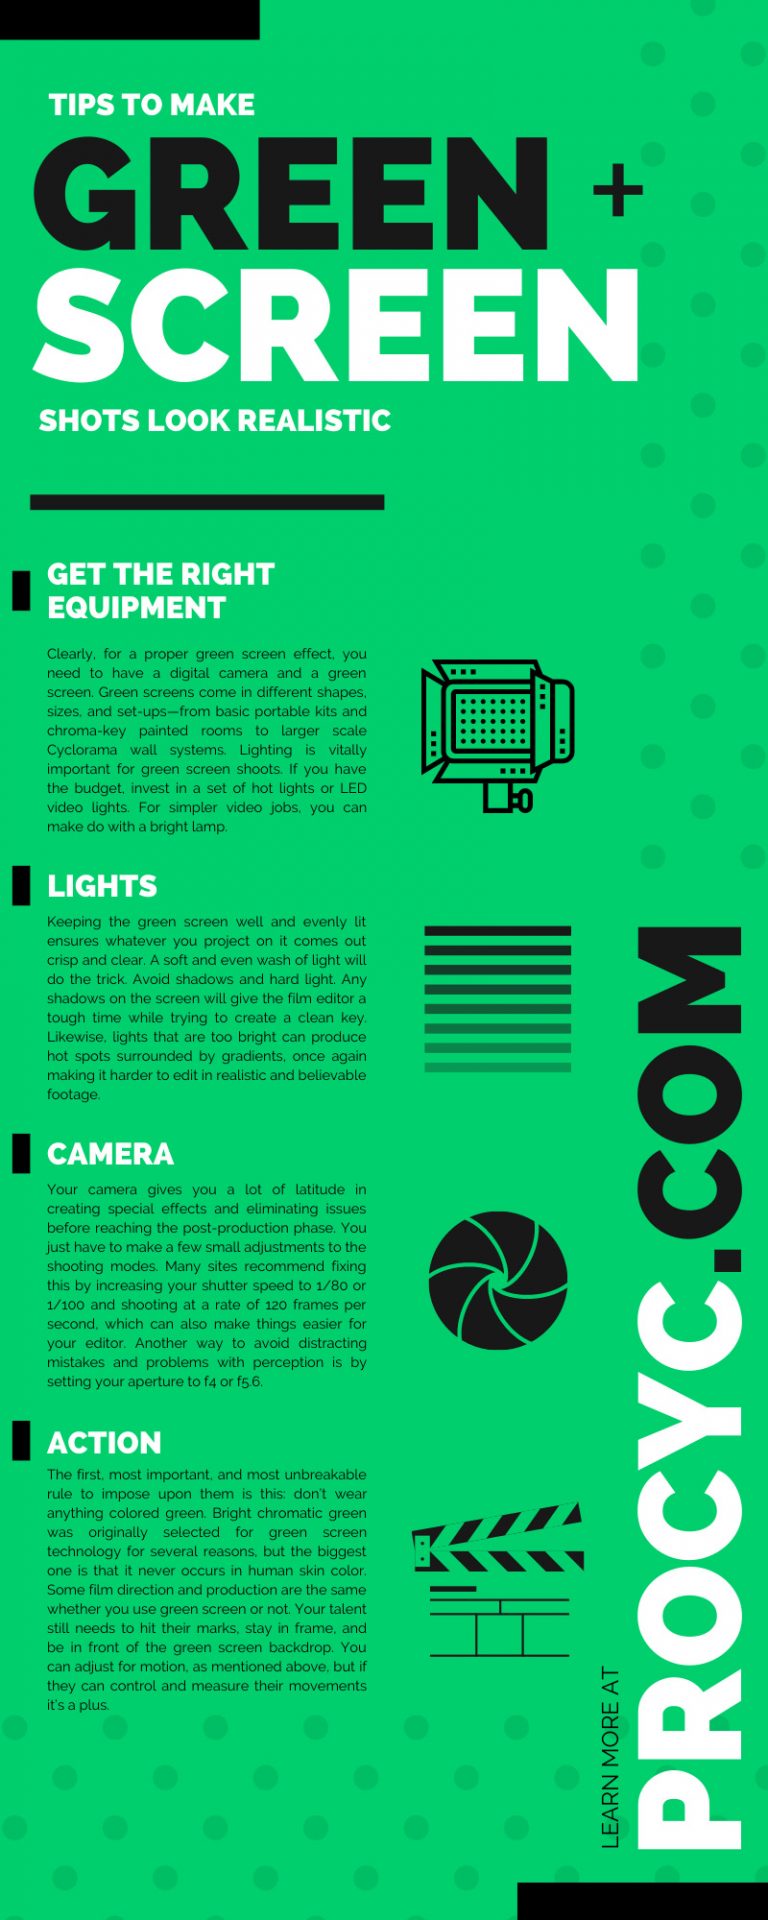
Clearly, for a proper green screen effect, you need to have a digital camera and a green screen. Green screens come in different shapes, sizes, and set-ups—from basic portable kits and chroma-key painted rooms to larger scale Cyclorama wall systems. All of these can be found on our site.
Lighting is vitally important for green screen shoots, so it’s a good idea to properly learn how to use it. If you have the budget, invest in a set of hot lights or LED video lights. For simpler video jobs, you can make do with a bright lamp. Finally, the magic really happens with a video editing program. Adobe Premiere Pro, Final Cut Pro, and Corel Video Studio are some of the more popular programs. However, whichever editing software you use, make sure it’s equipped to accommodate chroma key compositing. The right equipment goes a long way toward producing the best effects and will come in handy with the following tips. For example…
Lights
Think of your green screen as the canvas for your entire production. Make sure it’s a worthy one. First of all, if it’s a fabric screen, look for wrinkles and other imperfections that can cause shadows. Check its instructions. You might be able to use a steam iron or fabric steamer to smooth out any wrinkles. If the green screen is a painted surface, ensure any pits, holes, or other imperfections are repaired and repainted.
Next, spend a lot of time on your lighting. Keeping the green screen well and evenly lit ensures whatever you project on it comes out crisp and clear. A soft and even wash of light will do the trick. Avoid shadows and hard light. Any shadows on the screen will give the film editor a tough time while trying to create a clean key. Likewise, lights that are too bright can produce hot spots surrounded by gradients, once again making it harder to edit in realistic and believable footage. Attain even lighting by putting similar lighting rigs on either side of the screen, and filtering and diffusing the light into a soft glow. Of course, when filming, ensure your subject is several feet in front of the screen and not casting shadows on it. This is one of the many ways to avoid color spills, which can interfere with the final footage. Also, to ensure realism, be sure to light your subject in a way that complements the background. For example, if the backdrop is a cave, don’t light them as if they’re on a sandy beach, or vice versa.
Camera
Your camera gives you a lot of latitude in creating special effects and eliminating issues before reaching the post-production phase. You just have to make a few small adjustments to the shooting modes. Motion blur is one well-known and extremely irritating effect. If a subject or object moves suddenly while being recorded, it can cause a streaking effect because the camera can’t register the image quickly enough. Many sites recommend fixing this by increasing your shutter speed to 1/80 or 1/100 and shooting at a rate of 120 frames per second, which can also make things easier for your editor. Another way to avoid distracting mistakes and problems with perception is by setting your aperture to f4 or f5.6. Professionals recommend doing this to smooth out the green screen and provide more depth of field. Also, check out your ISO setting, which can brighten or darken a scene by adjusting the camera to available light. When shooting for green screen, you want to set your ISO to a lower setting, which helps eliminate grain in your footage. Grain is essentially visual “noise” in your image, and it can make chroma-keying much more difficult. Also, remember the earlier recommendation to move your subject several feet in front of the green screen? Now ensure your camera is about six feet away from your subject. This helps produce a better image for chroma-keying.
Action
Now let’s talk about what’s between the camera and lighting: your talent, how they look, and what they’re doing.
The first, most important, and most unbreakable rule to impose upon them is this: don’t wear anything colored green. Bright chromatic green was originally selected for green screen technology for several reasons, but the biggest one is that it never occurs in human skin color. If your talent wears green then the background image will appear somewhere on their body, which, suffice to say, isn’t realistic at all. Following that, another reason why bright green is used is because green reflects more light than blue, requiring less lighting and postproduction alterations, therefore saving money. (Note: You may have heard of blue screens, which are sometimes used to avoid the color green, such as in nature footage.)
Some film direction and production are the same whether you use green screen or not. Your talent still needs to hit their marks, stay in frame, and be in front of the green screen backdrop. You can adjust for motion, as mentioned above, but if they can control and measure their movements it’s a plus. Watch for reflections in props and clothing that can interfere with keying later on, and make sure your talent doesn’t have loose hair or other elements that can move and cause distracting motion blurs. Proper makeup is important as well. Green tends to reflect onto skin, making it look pallid and witchy, so have your makeup people adjust accordingly—but with nothing glittery or, of course, green. As mentioned, ensure your subject is lit up in a way appropriate for the background image. Finally, the talent should stand on a non-green surface to prevent green light from spilling into or reflecting on the scene.
Those are just a few tips to make green screen shots look realistic. We’re here to help if you have further questions, though. If not, good luck—and think green!