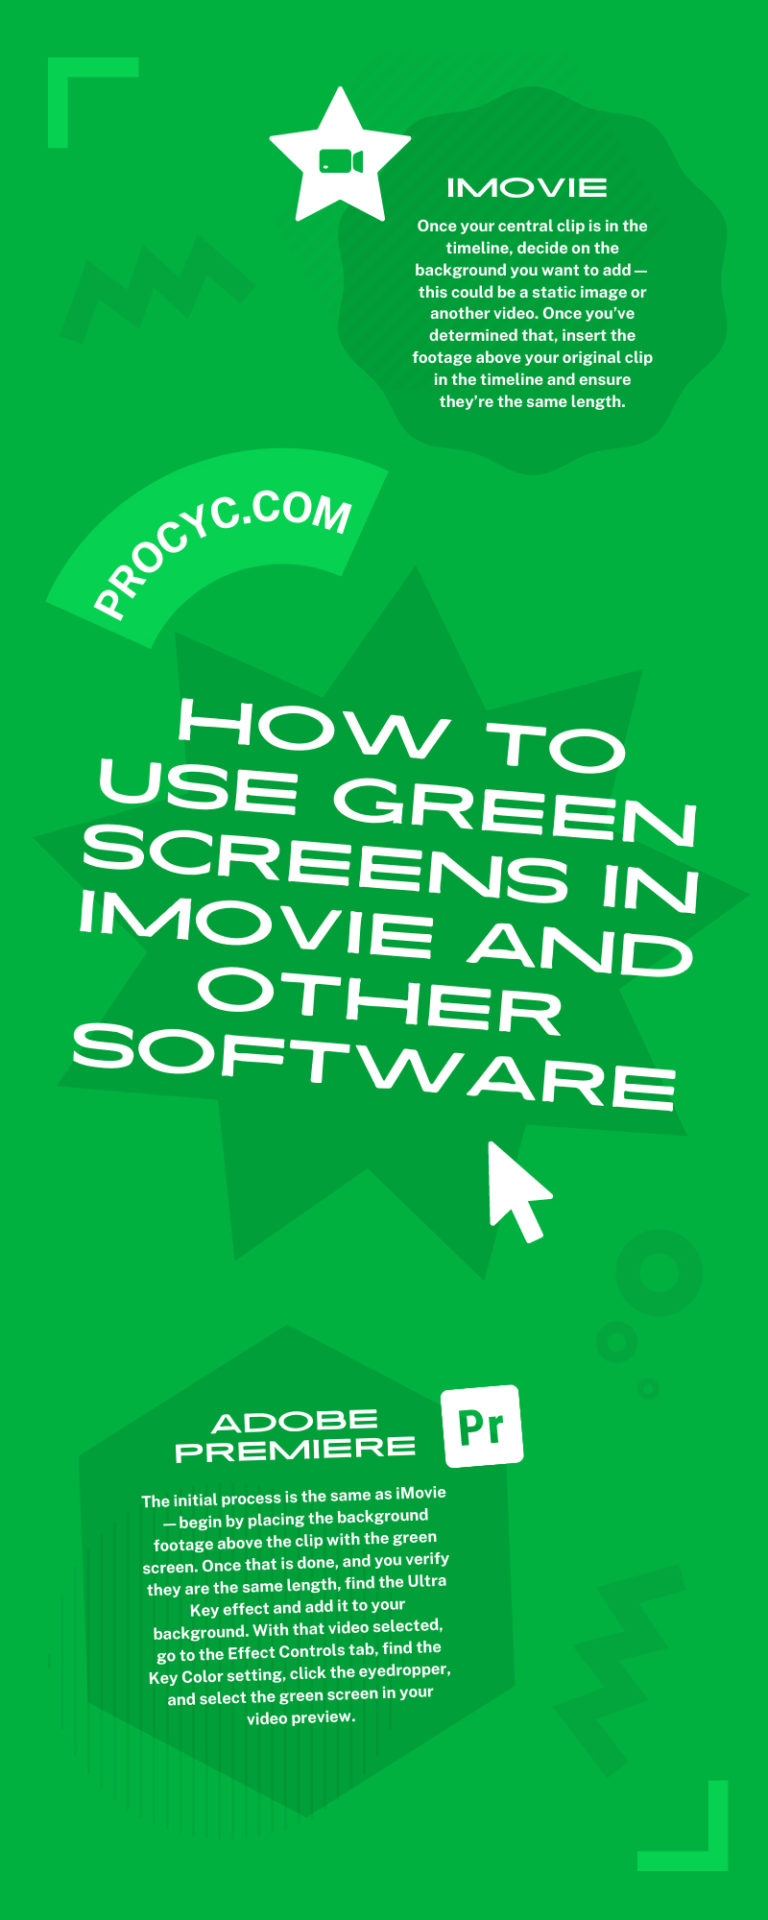
In the world of video content creation, there are many options for editing your videos. While most of the editing process can be fairly straightforward, it can become complicated when green screens are involved. That doesn’t mean putting in a background is difficult; it just involves options that can be hard to find. If you want to edit clips that utilize these backdrops in your editor of choice, you’ll find this guide on how to use green screens in iMovie and other software quite helpful.
Before diving into each editing software, we want to ensure you have access to a high-quality green screen. Cheaper options can make altering the background of your video more complicated than it needs to be. If you need a better backdrop, you should check out our line of professional green screens. We’re sure you’ll find one that best suits your needs. Without further ado, here’s how to put that green screen to good use.
iMovie
If you use a Mac for your editing process, there’s a good chance you use Apple iMovie. For a free application, it’s actually quite good at what it does, especially when it comes to implementing green screen footage.
Once your central clip is in the timeline, decide on the background you want to add—this could be a static image or another video. Once you’ve determined that, insert the footage above your original clip in the timeline and ensure they’re the same length.
When everything is in place, click the Video Overlay Settings button—it’s a picture of a box hovering over a faded box. Once you do, click the Green/Blue Screen option in the pop-up menu. iMovie will automatically replace the green background with your selected clip, and the two sections will become one. If you move the clips to another area of your video, both parts will move together.
Even though you’ve technically finished applying the green screen footage, the videos might not have meshed together perfectly, but that’s okay. Just click the Video Overlay Settings button again to access other options. If you want to adjust how visible the edges of the superimposed clip are, you can move the softness slider up or down. If you need to edit the background further, use the Crop and Clean-Up buttons. Crop will let you cut out sections of the backdrop, while Clean-Up will allow you to remove areas of the green screen that might have popped through.
Adobe Premiere
If you don’t mind paying a premium to use one of the best video editing apps on the market, there’s a good chance you’re using one of the editions of Adobe Premiere. Even though each version differs slightly, they all work similarly when it comes to green screen usage.
The initial process is the same as iMovie—begin by placing the background footage above the clip with the green screen. Once that is done, and you verify they are the same length, find the Ultra Key effect and add it to your background. With that video selected, go to the Effect Controls tab, find the Key Color setting, click the eyedropper, and select the green screen in your video preview.
Like with iMovie, the implementation might not be perfect. If you have inconsistencies due to lighter or darker areas, play around with the settings in the Matte Generation section of the Effect Controls. Matte Cleanup is a better option for altering the edges of your object, while Spill Suppression will be the better option if the background is bleeding into your subject. Don’t be afraid to play around with these until you find the perfect combination.
Pinnacle
While you might not have heard of Pinnacle before, it’s included in this list because it’s one of the best editors for color grading. While this isn’t directly helpful for implementing green screen footage, it can help make the footage look more natural with your subject. This is the perfect option for Windows users since Windows Movie Maker is no longer available.
When working with green screen footage on this app, you’ll want to put your original clip on A/V Track (2) and place the background clip below it on A/V Track (3). Be sure to line up the lengths of both videos before double-clicking the green screen clip to pull up the Editor tab. From there, click on Effect, followed by Keyers, then StudioChromaKeyer. This will automatically put your background footage onto your green screen.
Pinnacle’s options for making further edits are similar to other programs. These options are all underneath Settings on the StudioChromaKeyer page. Each one uses a slider, so it’s easy to play around with the choices to see how they affect your background image or video.
Filmora
The final entry in this guide on how to use green screens in iMovie and other software is Filmora. This program is best for beginners since its options are more basic, it comes with a free trial, and it has a cheaper price tag.
This app also involves placing the background footage above the clip with the green screen. Like with Pinnacle, you’ll need to double-click the green screen video to pull up the Edit panel. Once it’s open to the Video tab, scroll down to the Chroma Key dropdown list and use the eyedropper to select the green background in your video. Once you do this, the background clip will replace the green screen.
After it’s in place, you can reposition the footage as needed by clicking on the background image. When you have it where you want it, you’ll have the chance to further adjust aspects of the background, such as clarity and edge thickness, by using various sliders.
As you can see, the process for using each program is relatively similar, yet different enough that things can become confusing if you’re not familiar with them. Hopefully, this guide will make your green screen editing a breeze, allowing you to quickly move on to the next step of your editing process.


