If you’re planning a video or photography project that employs a green screen, make sure you’re prepared. A green screen (also known as chroma key) can provide you with incredible special effects and supporting text and imagery that can add excitement and flair to your project. But if you want to keep on time and on budget while creating a professional-looking final product, read and remember these essential elements behind a successful chroma key production.
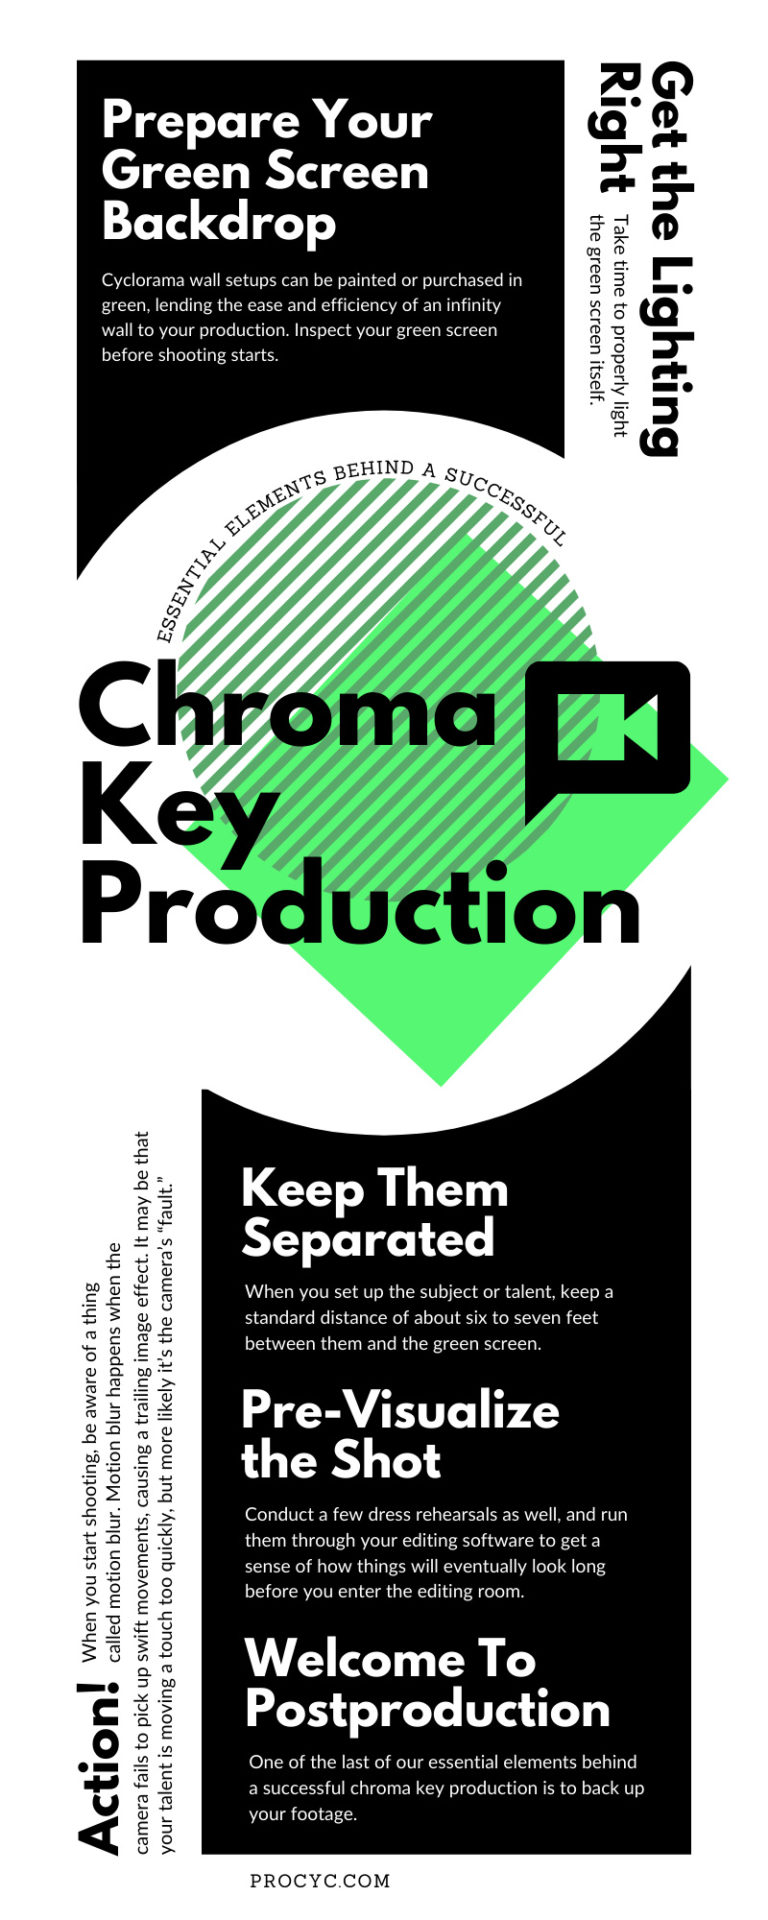
Prepare Your Green Screen Backdrop
There isn’t just one kind of green screen. Green screen backdrops can be painted directly on a wall with special chroma key paint. Cyclorama wall setups can be painted or purchased in green, lending the ease and efficiency of an infinity wall to your production. You can also purchase a fabric backdrop in the proper chroma key green and tack it to the wall behind the set. Portable green screens that attach to an office chair are also available for smaller-scale projects. Whichever one you use, inspect your green screen before shooting starts. Keep it clean and repair any damage you come across, such as washing out marks or steaming out wrinkles in the fabric, spackling cracks, touching up faded paint in the wall, and so forth.
Get the Lighting Right
Lighting can be your biggest friend or your greatest foe in your production. It all depends on how you set it all up. Before you set up the talent or subject of your shoot, take time to properly light the green screen itself. Generally, most green screen shoots can get away with three or even two lights—one on the subject and two on the backdrop. We advise using three and training two offscreen on either side of the backdrop to ensure an even and equal amount of light and no shadows. Put the lights at an angle to the screen and make sure the projected light doesn’t come together in a single hotspot or light flare that will throw off the key and require extra work in postproduction to repair. Light up your talent or subject with a similar amount of lighting to draw a perfect key. You can alter lighting for a certain mood, of course, but even light means a crisp and clean look when you replace the green screen with another image or different footage.
Keep Them Separated
When you set up the subject or talent, keep a standard distance of about six to seven feet between them and the green screen. If they are too close, you’ll risk having them cast shadows. When you focus, keep your subject crisp and clear and leave the backdrop ever so slightly out of focus. This can help further smooth out the effect and help you draw a better key. Keep about four feet of space between the camera and your subject, adjusting the lens, so the green screen fills the field of view. This also prevents shadows and allows you more room to set up lights to further correct any shading or similar issues. If you use a green screen floor, that can help you set up cool effects while ensuring the lighting and positioning of your subject isn’t such that the green reflects upward, causing color spill that will interfere with drawing a good key.
Screen Out the Green
That may sound counterproductive, but it isn’t when you understand that the only green in the frame should be on the screen. Make sure your talent isn’t wearing anything green, otherwise the image you intend to project behind them will show up in their clothing, jewelry, or similar accoutrements. Reflective surfaces interfere with drawing a good key as well, so get rid of shiny jewelry, hair ornaments, and so on. Eyeglasses are a special problem as well. Your talent should opt for wearing contacts should they require vision correction, or you can ask them to remove their glasses during the shoot. If they absolutely need to wear them, check your lighting. It’s possible to change your lighting so that there’s less glare on the lenses. Props, of course, should also be green-free, unless you’re planning to make some special effects use of them! One last thing to check off the list is making sure your talent isn’t wearing anything with too flashy a pattern. The tighter the design, the more likely it will generate a weird moiré effect onscreen. Keep things simple!
Action!
When you start shooting, be aware of a thing called motion blur. Motion blur happens when the camera fails to pick up swift movements, causing a trailing image effect. It may be that your talent is moving a touch too quickly, but more likely it’s the camera’s “fault.” Adjust your camera for a faster shutter speed that will ensure a sharper, cleaner key while shooting. Once again, distance and lighting are important here. If your subject is too close to the screen or is badly lit, motion blur is more likely to occur. Lock down flyaway hair and other issues that can cause a weird halo effect around your talent by subtly interfering with the shot. Better to use a bit of hair spray and a comb now than to spend several extra hours smoothing out weird halos in postproduction.
Pre-Visualize the Shot
If you aren’t storyboarding your production, you really should be! Storyboards are like comic strip versions of your project, showing how you intend to frame each shot, the course of action and dialogue, prop placement, and more. If you plan to drop in scenery, words, and images behind your subject or talent, be sure you know where to put them in a way they aren’t blocking anything. It also helps to have a laptop or television monitor on set so you can get a sense of the finished product before you shoot. Conduct a few dress rehearsals as well, and run them through your editing software to get a sense of how things will eventually look long before you enter the editing room.
Welcome To Postproduction
One of the last of our essential elements behind a successful chroma key production is to back up your footage. You don’t want to lose several hours of footage with a simple, regrettable accident. After that, most experts recommend creating a rough cut of your production with the green screen intact to see what works and what doesn’t. Back up the rough cut as well, and then proceed to add all those amazing effects!