A green screen background is a powerful tool for photographers and videographers. It allows you to add a virtual backdrop, like a beach or city skyline, to your photos and videos. However, if not done right, green screens can have the opposite effect and make your images look unprofessional. Here are 8 tips to help you get the most out of your green screen background.
Tip 1: Choose the Right Type of Material or Paint
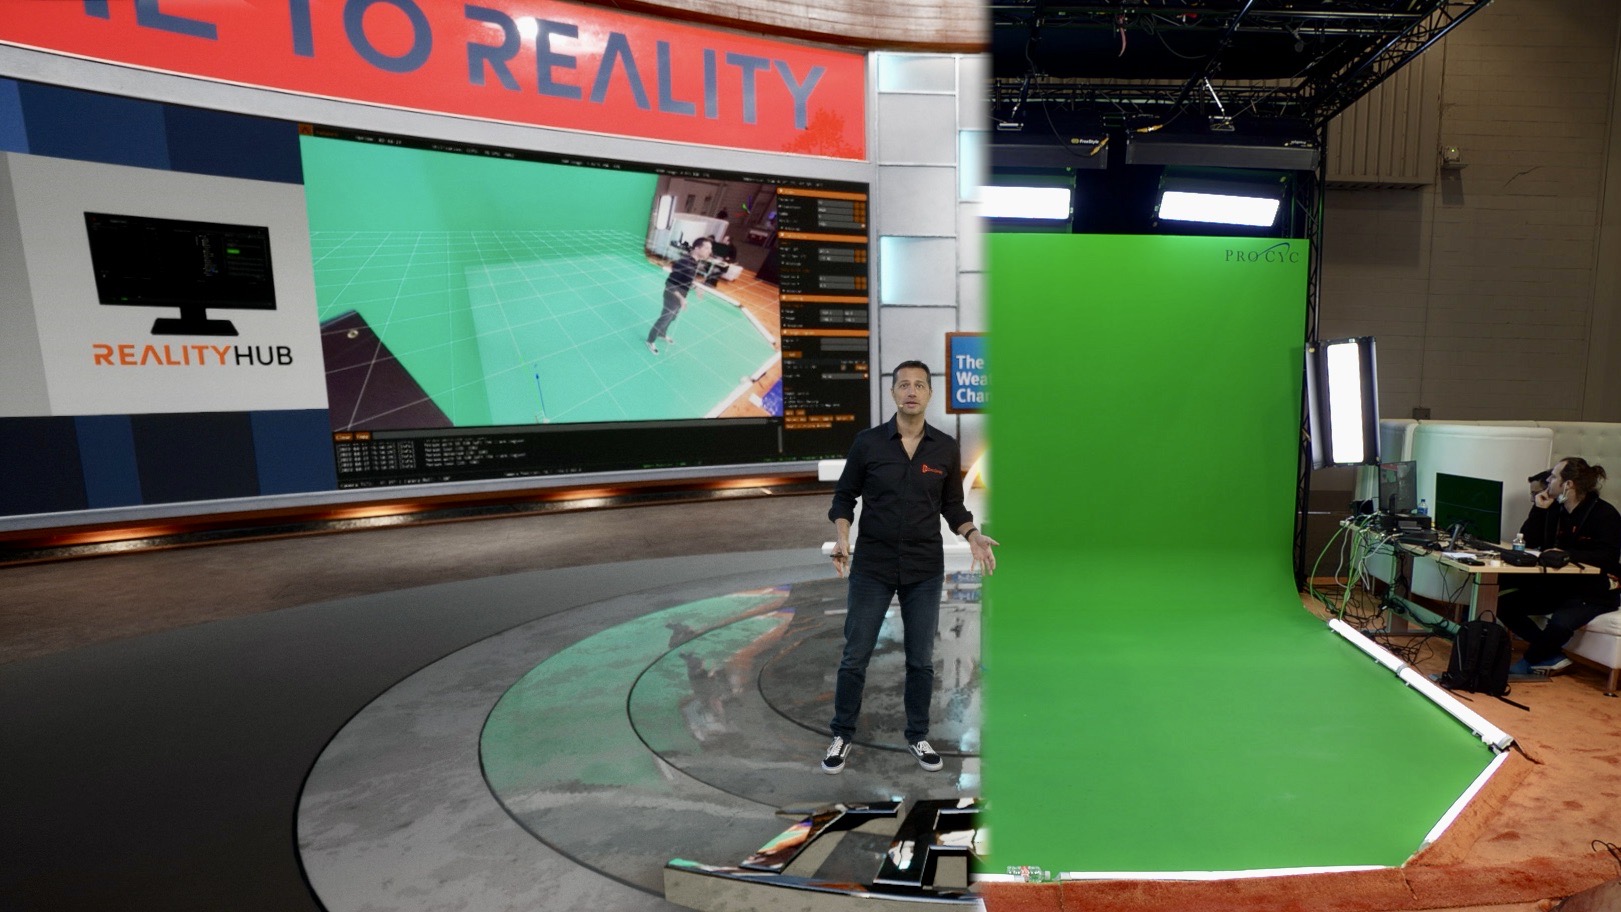
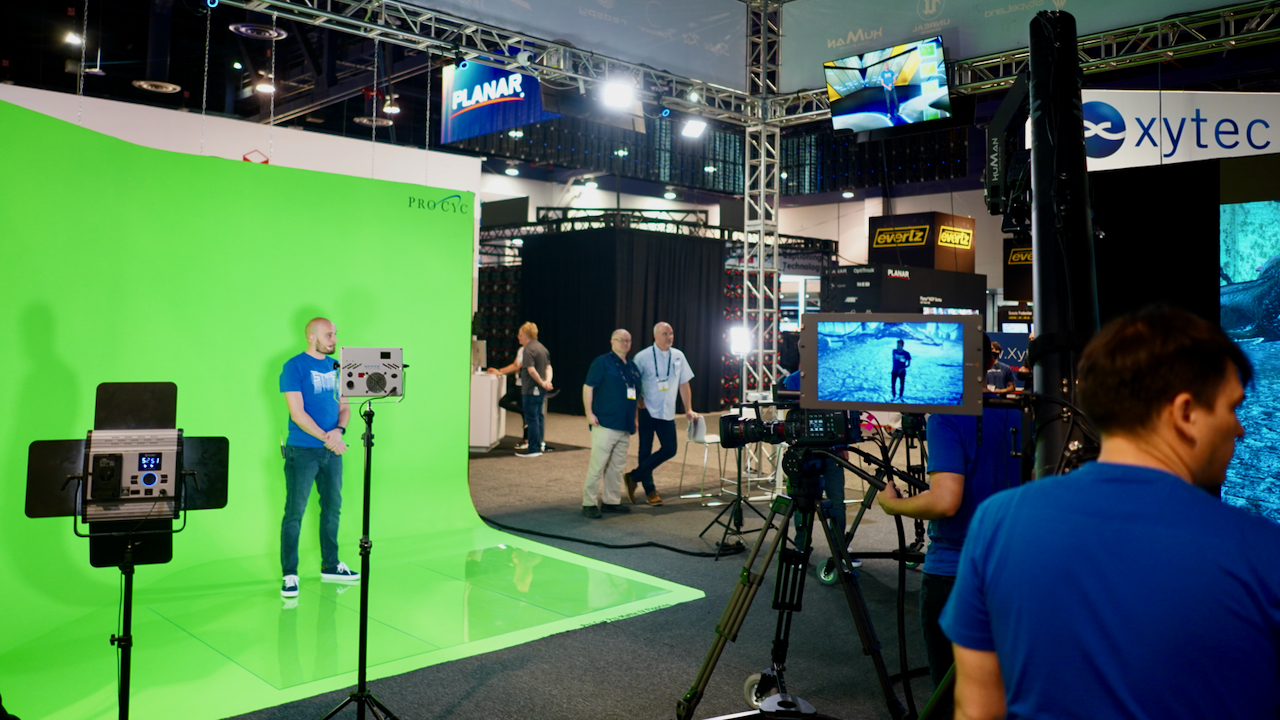
The type of material you use for your green screen background matters. For the absolute best seamless results, a cyclorama studio background is unparalleled. Besides being created using hard, smooth materials (usually plastic, fiberglass or drywall) which will never wrinkle, a cyclorama provides smooth transitions from the walls to the floor, and most importantly in the corner. This enables you to shoot your subjects from head to toe and from multiple angles which is especially important when using multiple cameras. However, if you are looking for something less permanent and/or less expensive, you may elect to use some type of green screen material. When choosing your material, you want something that is opaque and thick enough to absorb light and create even lighting on your subjects, but thin enough so as not to create any wrinkles or bumps in the material. If you have a wall that you want to turn into a green screen, for more consistency across the surface try using a chroma key paint instead. A seamless final result without shadows is the primary goal. There are also a variety of portable green screen options available that are worth looking into as well.
Tip 2: Use Soft Lighting
Soft lighting is key (no pun intended) when it comes to shooting with a green screen background. The reason is simple; harsh light can cause hot spots (areas of overexposure) as well as too much reflection off the background, making it difficult for post-production software to remove the green color from the photo or video frame and replace it with whatever color or image you’ve chosen as your desired background. Soft lighting also helps create an even illumination on your subjects, making them easier to separate from their backgrounds in post-production software.
Tip 3: Choose Vocabulary Wisely
When using dialogue in front of a green screen, be sure to choose words carefully so that they don’t conflict with what will be added in post-production software (e.g., avoid using words like “right” or “left” if those directions will change after you superimpose a new background). Additionally, avoid using words that could sound strange when combined with certain backgrounds, such as “sunset” when filmed against an interior scene backdrop. This is also important when doing a live key, such as in broadcast or live streaming.
Tip 4: Go Easy On Movement
Movement can be tricky when filming against a green screen because it’s difficult for post-production software to track and match up movement between different frames when replacing the original background with something else entirely (e.g., motion blur on one frame may not match exactly with motion blur on another). That said, try not to move around too much while filming against a green screen; stick mainly to poses and gestures that keep all movement within one plane (i.e., don’t jump up/down while talking).
Tip 5: Add Shadows
If possible, try adding shadows behind people who are standing against your green screen backdrop; this will help separate them from their backgrounds in post-production software as well as in a live key, and make them look more realistic against whatever backdrop you choose (e..g., beach scenes look more convincing if there are shadows cast by people walking around in them).
Tip 6: Use Different Angles
When shooting against a green screen backdrop, get creative! Try different angles—such as having your subjects stand at 45 degrees instead of straight on—to give yourself more options during post-production editing phase (e..g., side shots often work better than full frontal shots when working with greenscreen backgrounds). Plus, changing up angles adds visual interest which keeps viewers engaged while watching your footage!
Tip 7: Try Multiple Backgrounds If Possible
Have multiple green screen backdrops available? Great! Having multiple backdrops gives you more freedom during the editing process; allowing you to experiment with different looks until you find one that fits perfectly with what you’re trying to capture visually (and save time looking for just “the right one” later!). Plus it gives viewers something fresh each time they watch!
Tip 8: Shoot In Digital Format
Shooting digital instead of film makes life much easier when working with green screens since digital formats offer higher resolution which makes it easier for post-production software programs like Adobe After Effects or Final Cut Pro X do their thing without distortion or pixelation issues cropping up along the way (which can happen quite easily if shooting in film format).
Conclusion
Whether used by photographers or videographers alike, getting great results from green screens takes practice and patience—but following these 8 tips should help pave the way towards achieving professional results every time! With some experimentation and trial & error along the way, soon enough you’ll have mastered the art of creating beautiful virtual backdrops that wow viewers every time they watch!
